Disclosure: This Post Contains Affiliate Links; We earn a commission on purchases.
Protecting your home from EMF radiation doesn’t have to be expensive. With a little creativity and some DIY skills, you can find budget-friendly solutions to shield yourself from EMFs. This article will provide you with practical tips and ideas for DIY EMF protection projects that won’t break the bank. We’ve gathered information from various sources to give you the best options for affordable EMF shielding materials and techniques.
Key Takeaways:
- Create affordable DIY EMF shielding projects using readily available materials.
- Understand the types of materials that effectively shield against EMF radiation.
- Build a DIY laptop pad and smart meter cover for EMF protection.
- Construct a DIY WiFi router guard and bed canopy to reduce EMF exposure.
- Use an EMF meter to test the effectiveness of your DIY EMF shields.
Understanding EMF Shielding Materials
Before you embark on any DIY EMF shielding project, it is essential to familiarize yourself with the types of materials that effectively shield against EMF radiation. These materials play a crucial role in protecting you from the harmful effects of electromagnetic fields. Let’s explore some key options:
Conductive Metals
Conductive metals like copper, silver, and nickel are widely used in EMF shielding products. These metals possess the ability to disrupt electromagnetic fields, preventing radiation from passing through. Consider incorporating conductive metal materials into your DIY projects to maximize their shielding capabilities.
Protective Fabrics
Another effective option for EMF shielding is the use of protective fabrics. Look for fabrics that have conductive metal woven into them. These fabrics provide a versatile and flexible solution for creating effective DIY EMF blockers. Ensure that the fabric you choose has a high conductivity level to effectively shield against EMFs.
Feel free to explore different types of conductive fabrics available in the market. As long as they effectively block EMF radiation, you can choose any suitable fabric for your DIY project.
“Understanding the different types of materials used in EMF shielding is crucial for the success of your DIY projects. By using conductive metals and protective fabrics, you can create effective EMF blockers at an affordable cost.”
Now that you have a better understanding of the materials used in EMF shielding, you can confidently proceed with your DIY projects. The next sections will provide you with step-by-step instructions on creating various DIY EMF protection solutions such as a laptop pad, smart meter cover, WiFi router guard, and bed canopy. Let’s dive in!
DIY Laptop Pad for EMF Protection
Laptops have become essential in our everyday lives, but did you know that they emit a significant amount of electromagnetic field (EMF) radiation? Placing your laptop directly on your lap can expose you to this radiation, which may have negative health effects. Fortunately, you can create a budget-friendly laptop pad that provides effective EMF protection.
To make your own laptop pad for EMF protection, you’ll need a few materials:
- A hard surface, such as a cutting board
- EMF shielding fabric
- Conductive thread
Here’s a simple step-by-step guide:
- Measure and cut the EMF shielding fabric to the size of your laptop pad.
- Place the fabric on top of the cutting board.
- Using the conductive thread, sew the sides of the fabric together, creating a pocket that fits the cutting board snugly.
- You can also add a thin pillow or foam pad for extra comfort.
This DIY laptop pad acts as a protective barrier between your laptop and your body, reducing your exposure to laptop EMF radiation. By using EMF shielding materials and conductive thread, you create a safe space to use your laptop without compromising your health.

Keep in Mind:
While the DIY laptop pad provides a layer of protection, it’s important to remember that it may not completely eliminate all EMF radiation. It’s still recommended to maintain a safe distance from your laptop and take breaks to reduce overall exposure.
By creating your own laptop pad for EMF protection, you can enjoy the convenience of using your laptop while minimizing your exposure to harmful EMF radiation. Take the necessary steps to prioritize your well-being without breaking the bank.
DIY Smart Meter Cover
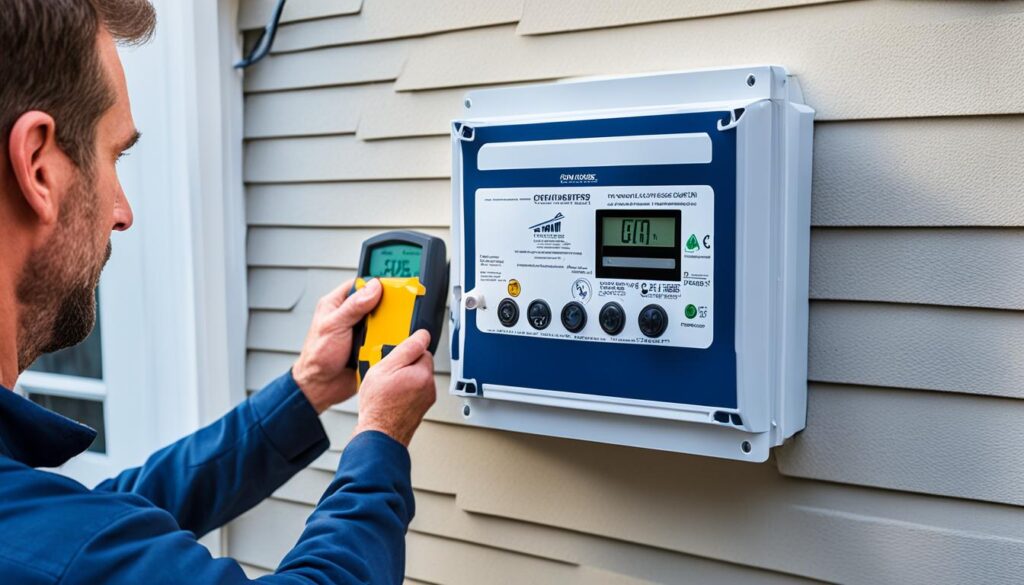
Smart meters are well-known for emitting high levels of RF-EMF radiation, which can pose a health risk. Fortunately, you can protect yourself from this radiation by creating your own DIY smart meter cover using affordable materials.
To make the cover, you’ll need:
- A protective metal mesh
- Wire clippers
- Metal-friendly glue
Start by cutting the metal mesh into appropriate shapes to cover the top, sides, and base of the smart meter. Ensure that the cover fits tightly around the meter to maximize effectiveness.
Next, use the metal-friendly glue to securely attach the mesh pieces together. This will create a sturdy cover that acts as a Faraday cage, allowing the signal to pass through while effectively blocking the radiation.
By creating a DIY smart meter cover, you can significantly reduce your exposure to smart meter EMF radiation. It’s a simple yet effective project that promotes your well-being without breaking the bank.

DIY WiFi Router Guard
WiFi routers have become an essential part of our modern lives, providing us with convenient internet access. However, what many people are not aware of is that these routers emit electromagnetic fields (EMFs) that can potentially be harmful to our health. If you’re concerned about the impact of WiFi router EMF radiation, you can create a DIY WiFi router guard to block the radiation and protect yourself.
For this project, you’ll need a conductive metal mesh that acts as a barrier for EMF radiation. An aluminum window screen is a suitable option. Additionally, you’ll need something to hold the components together, such as tape or adhesive. Alternatively, you can use the TitanRF Faraday Tape Screen, which is specifically designed for EMF shielding.
To start, cut the conductive metal mesh into a size that allows you to create a box around your WiFi router. Ensure that there is enough space for the router to fit comfortably inside. Leave a small hole on one side of the mesh box to allow the power cords to pass through.
Next, assemble the mesh pieces into a box shape, making sure they fit together securely. Use tape or adhesive to hold the edges together and reinforce the structure.
Now, place your WiFi router inside the mesh box, ensuring that the antenna or antennas are fully covered by the metal mesh. The conductive metal mesh acts as a Faraday cage, blocking the EMF radiation while still allowing the router’s signal to pass through.
Note: The image above illustrates a DIY WiFi router guard made with a conductive metal mesh. The mesh is shaped into a box with the router placed inside.
This DIY WiFi router guard provides a cost-effective solution for reducing your exposure to WiFi router EMF radiation. By creating a shielded barrier using a conductive metal mesh or the TitanRF Faraday Tape Screen, you can still enjoy the convenience of your WiFi connection while prioritizing your health and well-being.
DIY Bed Canopy for EMF Protection
Your bedroom is an important space for EMF protection, especially while you sleep. Creating a DIY bed canopy allows you to establish a safe and shielded area from EMF radiation. By using EMF protective fabric and securing it with TitanRF tape, you can effectively reduce your exposure to EMFs and enhance your sleep environment.
To create your DIY bed canopy, start by selecting an EMF protective fabric that suits your needs. Look for options like Blocksilver’s EMF Protective Fabric, which offers reliable shielding properties. Measure the dimensions of your bed and determine the size of fabric panels required for your desired canopy style.
Once you have your fabric panels, use TitanRF tape to secure them around your bed area. TitanRF tape is a versatile and durable EMF shielding tape that provides reliable protection against electromagnetic radiation. Make sure to properly seal the edges and corners of the fabric to create an effective shield.
This DIY bed canopy project not only reduces your exposure to EMF radiation but also adds a stylish and cozy touch to your bedroom. The canopy provides a secluded space for restful sleep, free from the harmful effects of EMFs.
Benefits of a DIY Bed Canopy for EMF Protection:
- Reduces exposure to harmful EMF radiation during sleep
- Creates a shielded area for a safer sleeping environment
- Can be customized to fit your bed size and preferred style
- Provides a stylish and cozy addition to your bedroom decor
Protecting yourself from EMF radiation while you sleep is essential for maintaining overall well-being. By creating a DIY bed canopy using EMF protective fabric and TitanRF tape, you can prioritize your health and enjoy a peaceful night’s sleep without breaking the bank.
Using EMF Meters to Test DIY EMF Shields
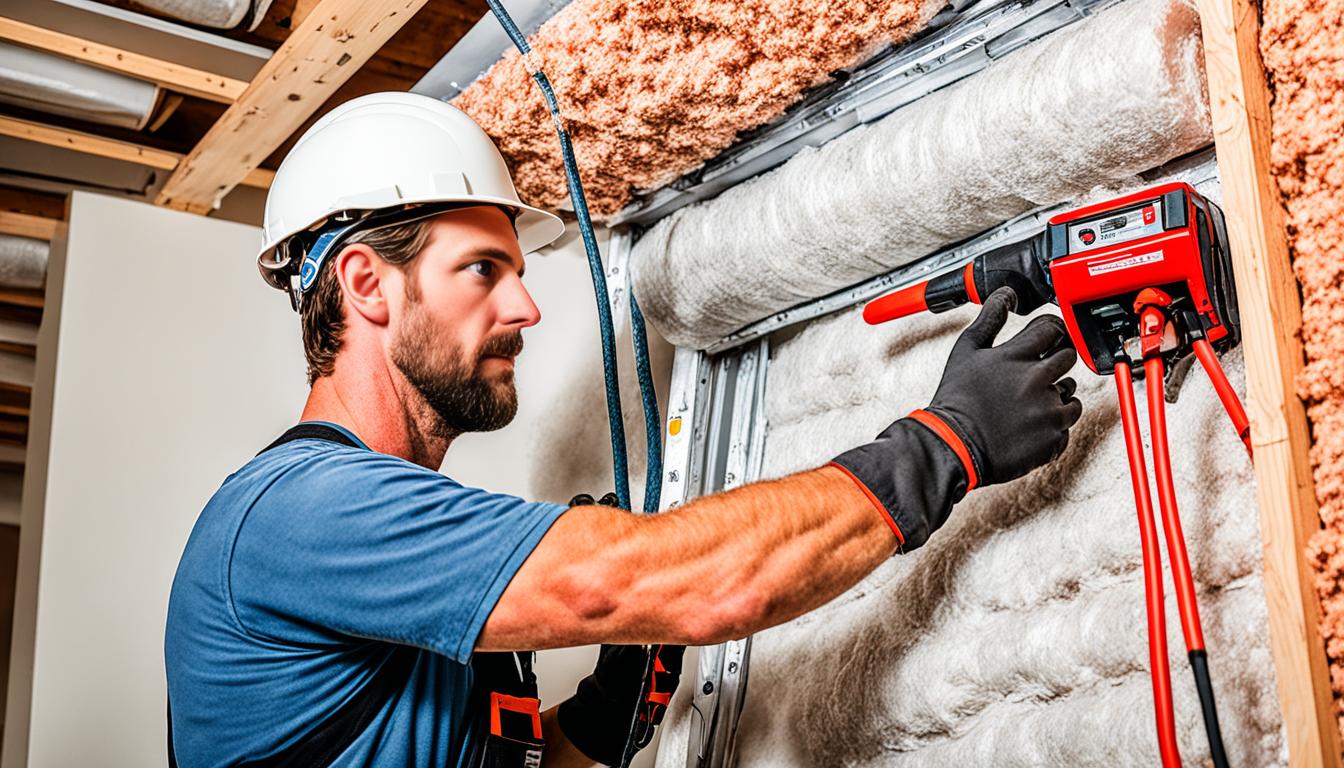
While DIY EMF shielding projects can provide cost-effective solutions for reducing your exposure to electromagnetic fields, it’s crucial to ensure their effectiveness. Testing and verifying the performance of your DIY EMF shields is essential to know if they are providing the intended protection. For reliable and accurate measurements, investing in a good quality EMF radiation meter is highly recommended.
EMF meters are specialized devices that measure the strength and intensity of electromagnetic fields. By using an EMF meter, you can assess the effectiveness of your DIY EMF shielding projects and ensure that they are working properly. Here’s why using an EMF meter is important:
- Accurate Measurement: EMF meters provide precise measurements of electromagnetic radiation. They can detect and measure both high and low-frequency fields, allowing you to assess the effectiveness of your shields across various frequencies.
- Verification of Shielding Performance: An EMF meter helps you verify that your DIY EMF shields are effectively reducing the level of electromagnetic radiation. It allows you to compare the EMF readings with and without the shield in place, ensuring that the desired reduction in exposure is achieved.
- Identification of Weak Points: Testing your DIY EMF shields using an EMF meter can help identify any weak points or areas where the shielding may be inadequate. This allows you to make necessary adjustments or improvements to enhance the overall effectiveness of the shielding.
- Peace of Mind: By using an EMF meter to test your DIY EMF shields, you can gain peace of mind knowing that you have accurate and reliable measurements of electromagnetic radiation levels in your environment. This knowledge empowers you to take control of your EMF exposure and protect your health.
When conducting measurements with an EMF meter, make sure to follow the manufacturer’s instructions and guidelines for accurate readings. Repeat the measurements multiple times to ensure consistency and reliability.
Remember, testing your DIY EMF shields with an EMF meter is a crucial step in ensuring their effectiveness. By using reliable EMF measurement tools, you can have confidence in the protection you’ve created against electromagnetic radiation.
Expert Tip:
“Regular testing of your DIY EMF shields using an EMF meter is essential to ensure their continued effectiveness. As technology and environments change, it’s important to stay vigilant and adapt your shielding measures accordingly.”
Now that you understand the importance of using an EMF meter to test your DIY EMF shields, let’s explore more DIY projects for affordable EMF protection in the following sections.
Conclusion
Protecting yourself from EMF radiation doesn’t have to be expensive. DIY EMF shielding projects can provide affordable solutions to reduce your exposure to EMFs. By following the tips and ideas presented in this article, you can create budget-friendly EMF protection measures using readily available materials.
Remember to test the effectiveness of your DIY shields using an EMF meter to ensure optimal protection. It’s important to verify that your projects are providing the intended shielding before relying on them. With a little creativity and resourcefulness, you can prioritize your health and well-being without breaking the bank.
Take control of your EMF exposure and start implementing these low-cost DIY solutions today. Your health and well-being deserve the best protection, and these budget-friendly projects offer a practical way to reduce your EMF radiation exposure.
Source Links
- https://emfknowhow.com/top-4-diy-emf-shielding-projects-with-recommended-emf-shielding-materials/
- https://survivaljack.com/2022/04/budget-friendly-ways-to-make-a-faraday-cage/
- https://www.emfanalysis.com/low-emf-internet-connection/

Subscribe to Our Newsletter


